Using the built-in filter in the various views is a great way to quickly get the specific data set you’re looking for! Our filters varies slightly from view to view, so we’ve used the “Marketing Performance” view as an example on how you can apply filters. Common for all types is that you’ll only get data based on the filter you’re adding. The standard for Fyr is that no filter is applied, and you’ll get all available data. In addition to the filters you can use for the specific report you’re looking at, we’ve also created specific filters on some of our subsets of data and tables, that allows you to combine metrics and insights to get even more detailed information. Please see our page on relative metric filters for information on how to use these.
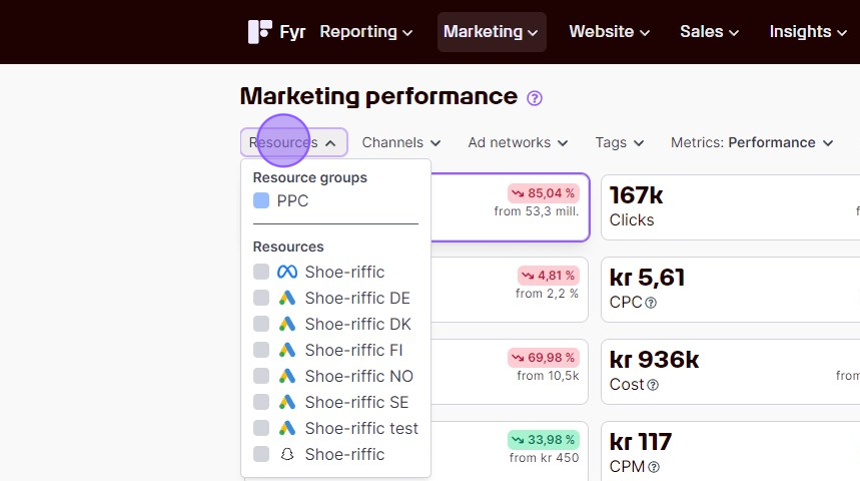
You can show data only from specific resources if wanted. Select the resource you want to include using the checkbox.
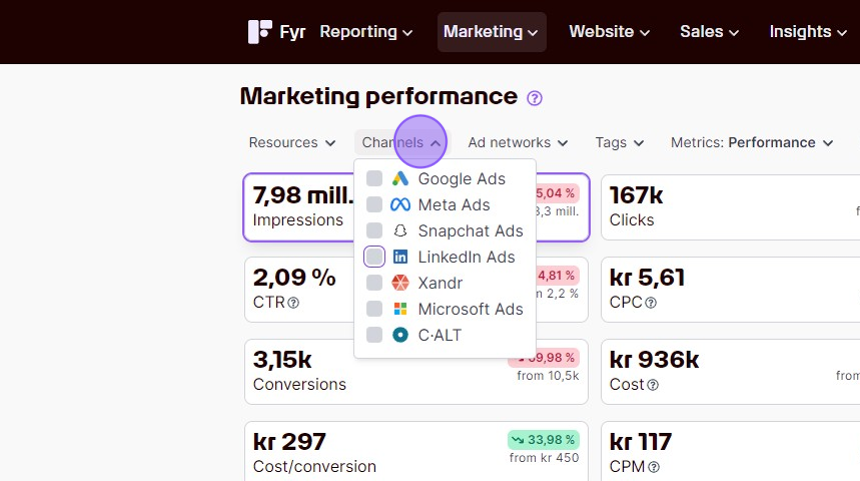
You can show data only from specific channel if wanted – e.g. only data from your LinkedIn Ads. Select the channel(s) you want to include using the checkbox.
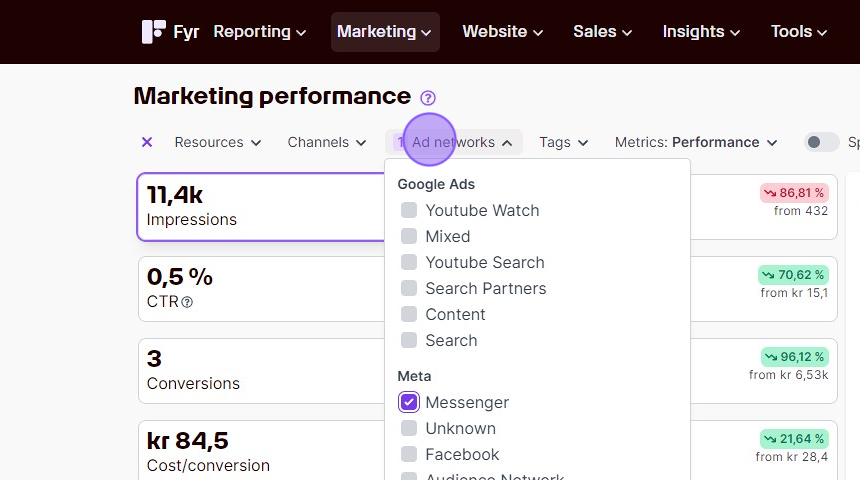
You can show data only from the specific ad networks your interested in – e.g. only data from ads placed on Meta (prev. Facebook) Messenger. Select the ad network(s) you want to include using the checkbox.
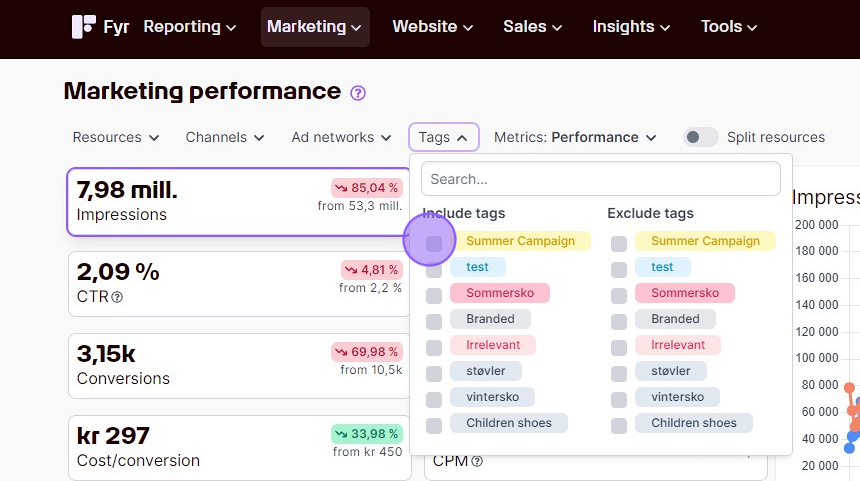
You can show data only from the selected tags – e.g. only data from everything containing the tag “Summer Campaign” Select the tag(s) you want to include using the checkbox.