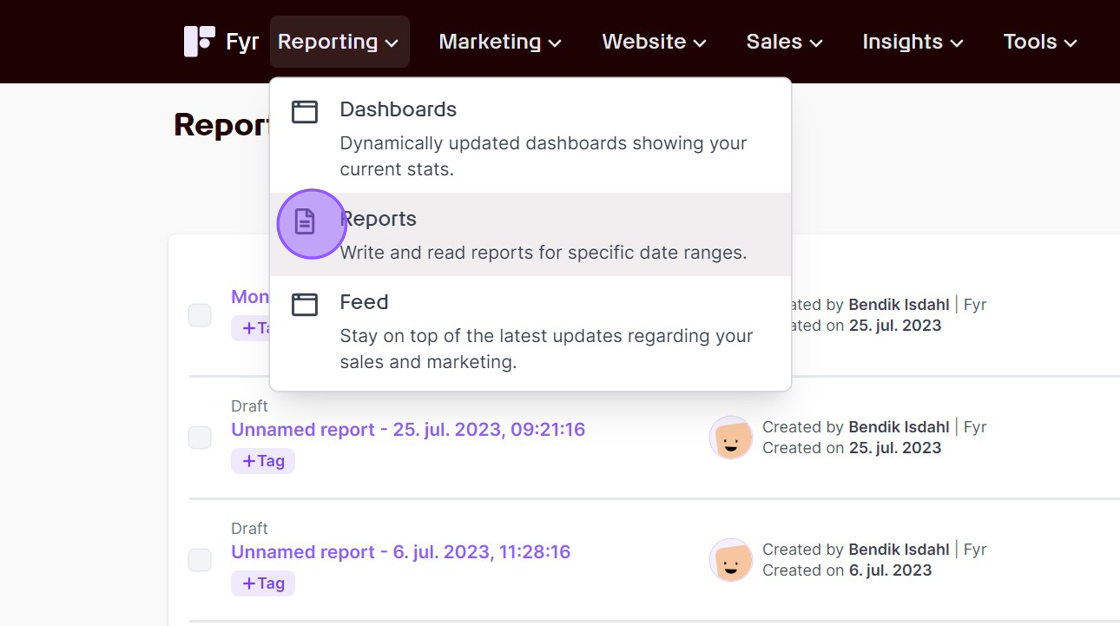
Creating a report – the basics #

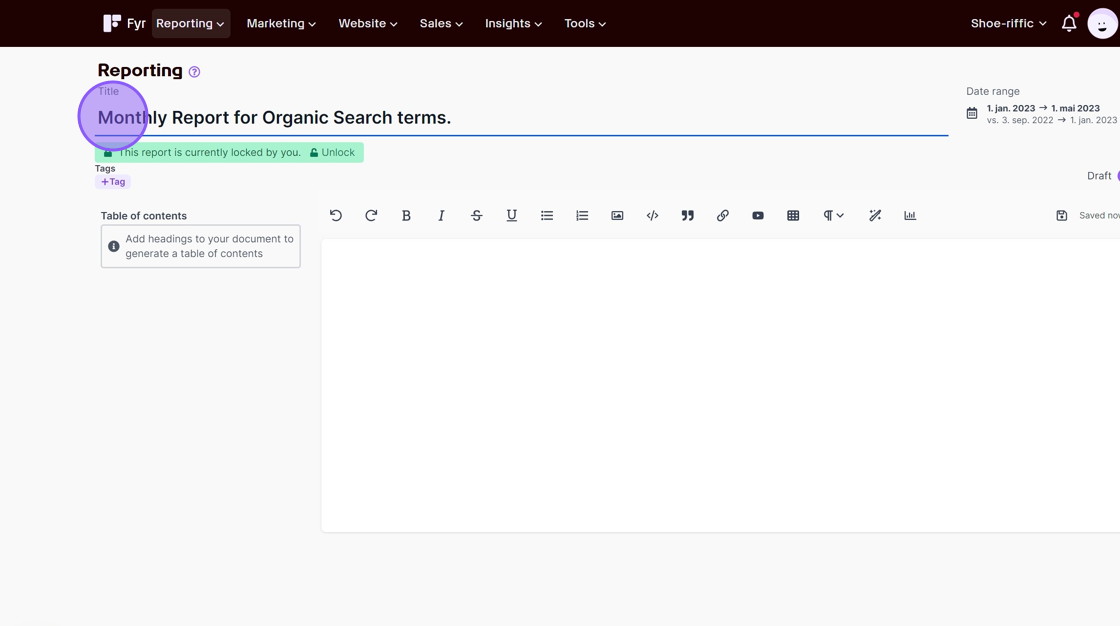
Adding text #
While in “Edit” mode, you can effortlessly insert text by selecting the desired location within the document and commencing typing. Our edit function is designed as a comprehensive text editor that allows for the seamless incorporation of various elements, including text, tables, media (such as images), and data widgets.
Use AI to generate text #
Within our system, we have incorporated an AI assistant designed to facilitate the composition of your report text. Simply furnish a minimum of 10 characters as input, and the AI will proficiently handle the remainder of the writing process for you.
Adding a headline #
Simply click the “Text styles” button and choose the headline size you prefer (from h1 to h3). You can also mark the text you’d like to be a headline, and then click the “Text styles” button.
Adding a table of contents #
You’ll automatically get a table of contents based on your headlines. Simply make sure to use proper headlines in your text, and you’re good to go.
Adding data #
To add data to your report, you first need a widget for your data. To add a widget, simply click the “Add widget” icon.
Removing a widget/data #
You can remove a widget by simply placing your cursor to the right of the widget, and hit backspace.