Overview #
Fyr’s Custom Data Import feature allows you to upload and integrate your marketing data from Google Sheets into Fyr. This feature provides flexibility beyond our direct integrations (Meta, LinkedIn, Google Ads, etc.), enabling you to import any data you choose and map it to Fyr’s available metrics.
We have created Data Import Templates for you to use. You can download the template here.
How it works #
Instead of relying solely on direct integrations, you can now manually add your data to Google Sheets and connect it to Fyr. Once connected, you can map specific metrics from your sheet and import them into Fyr’s system.
Steps to import custom data #
Step 1. Prepare your Google Sheet #
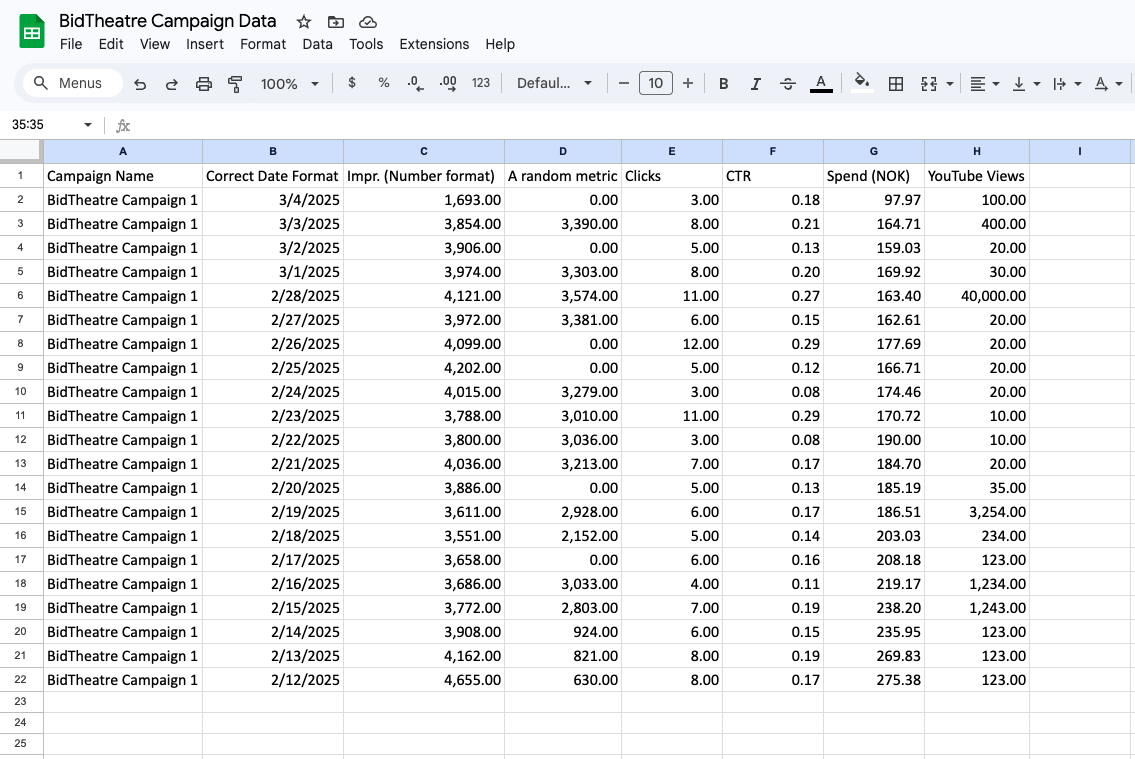
Before connecting to Fyr, ensure your Google Sheet is structured properly and your data is formatted accordingly. Follow these tips to decrease the likelihood of errors.
– Avoid having an empty first row.
– Avoid empty spaces in your dataset (e.g., data in row 1, 2, and 4, – but an empty row 3).
– Make sure to format your columns according to the data within.
As an example:
If you try to import numbers with spaces – e.g. “3 333” – it will be interpreted as a string,
not a number. It should be imported as “3333”, not “3 333”.
Step 2: Connect Google Sheets to Fyr #
1. Go to your Organization Settings Channels in Fyr (or simply click “+Add new account” from the top right dropdown).
2. Click “+Add account” and select “Google Sheets” from the list.
4. Click “Sign in with Google”, and select which account to sign in with (choose the one that has access to your file).
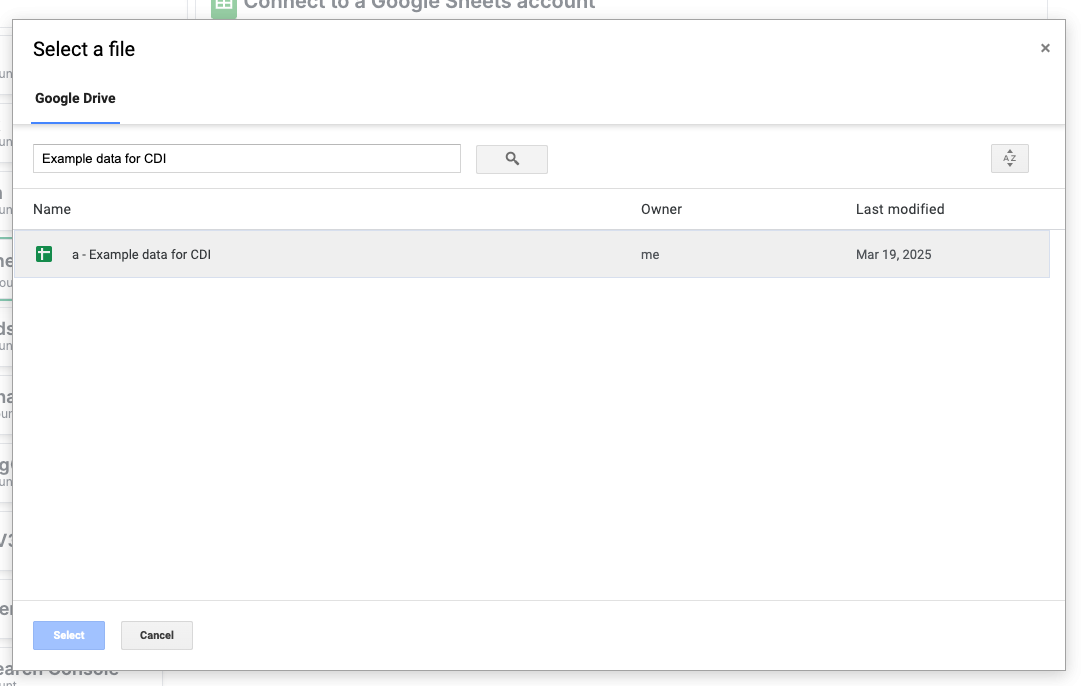
5. Select the Google Sheet you want to import data from in the list.
6. Click “Select”.
The first time you connect, you will be taken to Google to approve access to Fyr. For the beta test you will be met with “Google hasn’t verified this app”” – click “Continue”. You will then be met with “Fyr-dev wants access to your Google Account”. Once again, click “Continue”.
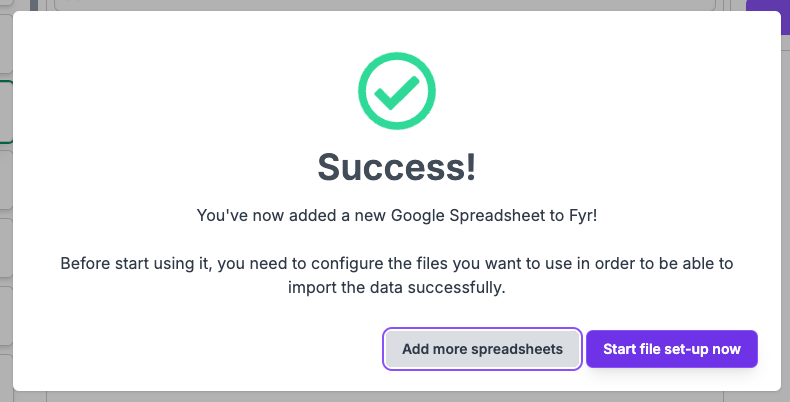
Step 3: Start file set-up #
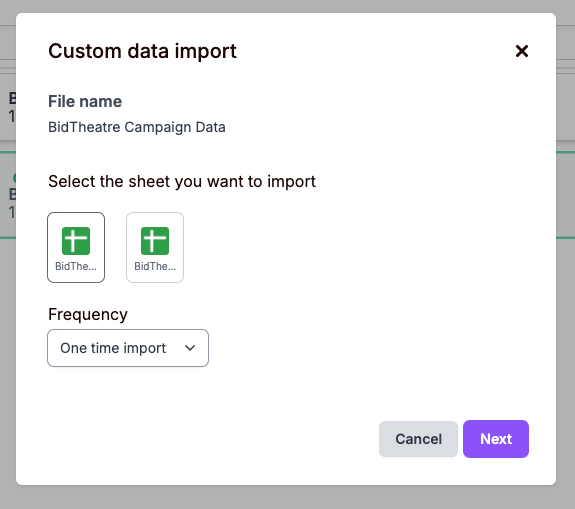
1. Click “Start file set-up now”.
2. Select the specific sheet (tab) you want to import data from.
3. Select the “Frequency” of your import.
If this is a one-time import, select that option.
If you would like Fyr to check for updates to the sheet once a day,
select that option.
4. Click “Next”
Step 4: Map your data #
1. Select which page/dashboard your data should be mapped to – e.g. “Ad Performance”.
2. Select which level your data belongs to. If you have “Ad” specific data, map it to the “Ad” level. If you have “Ad Group” specific data, map it to the “Ad Group” level.
3. Use the toggle if you have a header row in your data set that should not be imported as data.
4. Start mapping your data by selecting a metric from the dropdown list.
If you want to import “Conversion” specific metric(s), please make sure to select either “Ad Conversion” or “Ad Group Conversion”.
Please note that ‘Date’ and either ‘Ad ID’ or ‘Ad Group ID’ are required fields.
The ID does not have to be a numeric value (it can be a campaign or ad group name).
5. Use the “X”-icon to leave rows out of the import – or simply choose “None” from the dropdown list.
6. Click “Import” to import your mapped data.
Please note: If you can’t find the metric you want in the dropdown list, it’s either because we do not support it yet, or because you have chosen an incorrect “level”.
If you want to import both conversion specific data (for example “conversions” or “value”), and ad specific data (for example “impressions” or “cost”), you will have to create two different sheets (tabs) and import them one at a time. Make sure to keep the same IDs to keep the relationship between the data.
The reason for this setup is that Conversions is a dimension on it’s own – they are basically tied to a conversion.
We do not support importing “Calculated Metrics” (e.g. CTR). This will be calculated and available in Fyr based on the actual imported data.
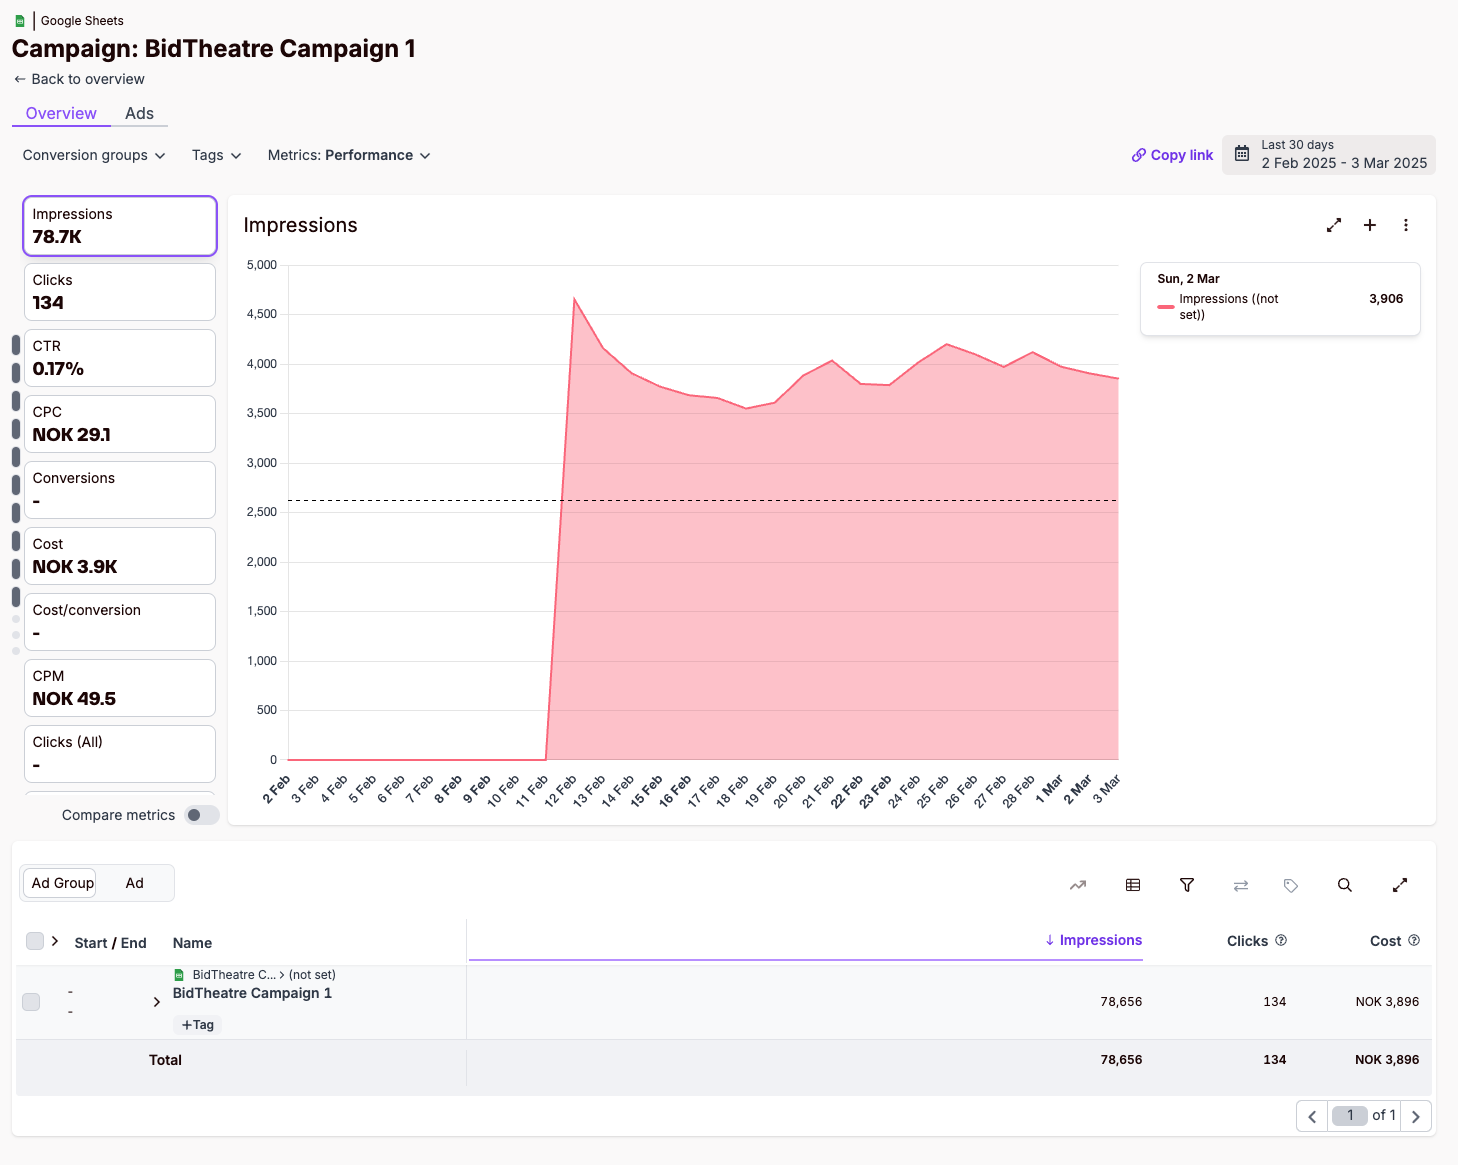
Step 5: Congratulations – your data is now be imported to Fyr.
Head over to the selected page/dashboard to see your imported data alongside data from other channels.
Best Practices #
- Keep a consistent format across all data uploads to avoid mismatches.
- Check permissions—ensure you have access rights to the Google Sheet before connecting.
- Schedule updates in your Google Sheet and choose “Daily” import to ensure fresh data for accurate reporting. Note that data will be overwritten with each import, so if your data changes in your Google Sheet, it will be reflected in the next import.
Data Import Templates #
You can use our Data Import Templates to quickly get started with Custom Data Import. Please find all our templates as sheets (tabs) in the following Google Sheet:
https://docs.google.com/spreadsheets/d/1eQmpSlOVqvhfWyZj8rFM4vORrlytnErs6P–fRUhhyk
You can use the document to structure your data before importing it into Fyr.
- Each sheet (tab) corresponds to a specific category or level.
- Columns with a darker background indicate required fields (e.g., ad_group_id and date in the Ad Performance / Ad Group tab).
- Some header rows include notes explaining the expected data format for each column.
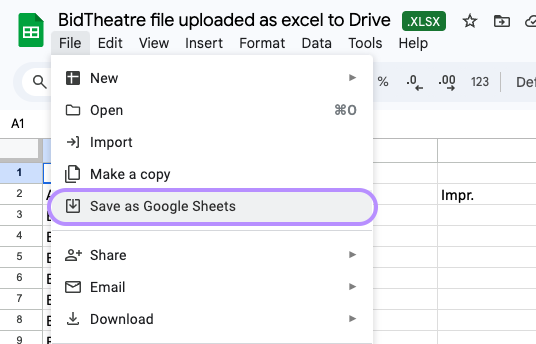
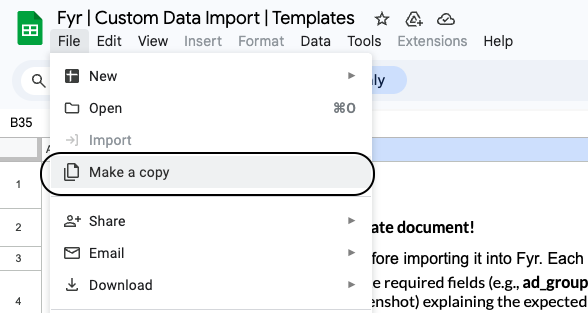
- Please make sure to click “”File -> Make a copy”” to use edit the document (obs: you need to be signed in to Google to get this option)”
Important notes about the template #
- Monetary values: If you leave the currency column empty, Fyr will assume the currency set for your Organization within the software.
- Ad Group/Ad Names: If Ad Group Name or Ad Name (optional fields) are not imported, Fyr will inherit their values from Ad Group ID or Ad ID (required fields).
- No empty cells: The document cannot contain any “”data holes.”” If you include a column, ensure all cells are filled—no blank cells allowed.
- Correct tab usage: If you have data at the Ad level, use the corresponding tab (not “”Ad Group””). You can also fill in multiple levels (Ad, Ad Group, and Campaign) within that tab.
- Separate datasets for Conversions: Ad/Ad Group data and Conversion data must be imported as two separate datasets. The easiest way is to use two separate sheets/tabs (e.g., use Ad Performance / Ad for ad-level data and Ad Performance / Ad Conversion for conversion data).
- Example data: The document contains sample data—please delete it before importing.
Please note: you need to make a copy of the file to store on your own Google Drive in order to edit and use our template files.
Troubleshooting #
Data Not Appearing? #
- Ensure you have selected the correct Google Sheet and worksheet.
- Check for inconsistent data formats.
Mapping Issues? #
- Verify that each metric in Fyr corresponds to the correct Google Sheet column.
Not finding the field you want to map? #
- Make sure you have selected the correct level.
Ad and Ad Group specific metrics – like for example Impressions, Clicks, Cost etc – is only available on those levels.
Conversion specific metrics – like for example Value, Conversions – is only available on either the Ad Conversion level or Ad Group Conversion level.
Please note that if you want to add both, you can do so by first importing the Ad/Ad Group specific metrics, and in a separate sheet (tab), import the Ad Conversion/Ad Group Conversion specific metrics.
By keeping the same date and ID, the data will maintain consistent relationships. - For now, we only allow mapping towards dimensions and metrics that are available in Fyr.